Batch rendering
You might have noticed while playing the game that the input feels a bit slow. Let's add an FPS counter to see how fast we are rendering. If you are not familiar with the term FPS, it stands for Frames Per Second, and we are basically aiming for 60FPS.
FPS counter
Let's start by adding an FPS counter, there are two parts to this:
- getting or calculating the FPS value
- rendering the value on the screen
For 1 luckily ggez provides a way to get the fps - see here. For 2 we already have a way to render text in the rendering system, so we just need to get the FPS there. Let's put all this together in the code.
#![allow(unused)]
fn main() {
// rendering_system.rs
    fn run(&mut self, data: Self::SystemData) {
        ...

        // Render any text
        self.draw_text(&gameplay.state.to_string(), 525.0, 80.0);
        self.draw_text(&gameplay.moves_count.to_string(), 525.0, 100.0);
        let fps = format!("FPS: {:.0}", timer::fps(self.context));
        self.draw_text(&fps, 525.0, 120.0);

        ...
    }
}
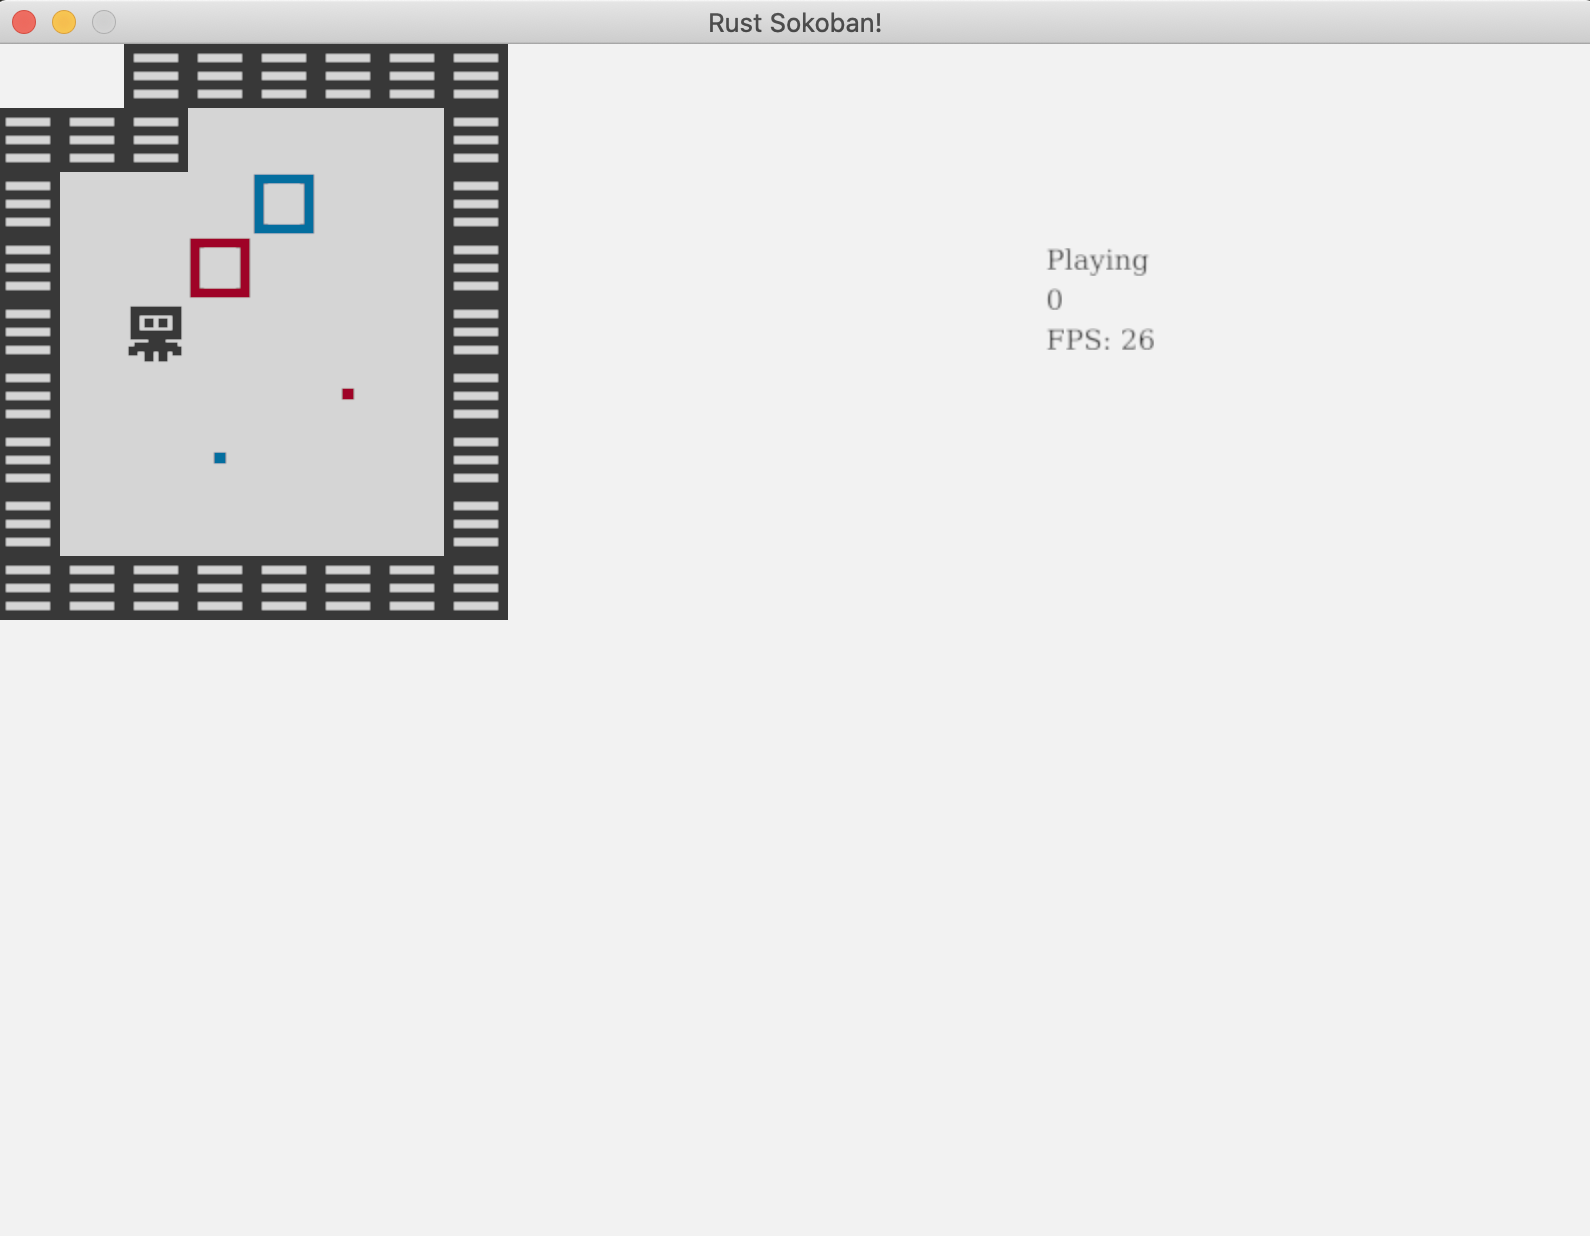
Run the game and move around with the keys a bit and you will see the FPS drops quite significantly from the expected 60. For me it looks to be in the range of 20-30 but depending on your machine it might be more or less.
What is causing the FPS drop?
Now you might be asking yourself, what have we done to make this so low? We have a fairly simple game and our logic for input and movement is not actually that complex, we also don't have that many entities or components to warrant such a big FPS drop. Well, to understand this we need to go a bit deeper into how our current rendering system works.
Currently, for every renderable entity, we figure out which image to render and we render it. This means that if we have 20 floor tiles we will load the floor image 20 times and issue 20 separate rendering calls. This is too expensive and it's the cause for our massive FPS drop.
How can we fix this? Well, we can use a technique called batch rendering. With this technique, what we have to do is only load the image once, and tell ggez to render it in all the 20 positions where it needs to be rendered. This way we not only load the image once, but we also only call render once per image, which will speed things up significantly. As a side note, some engines will do this render batching under the hood for you, but ggez doesn't, hence why we need to care.
Batch rendering
Here is what we'll have to do to implement batch rendering:
- for every renderable entity, figure out which image we need to render and at which DrawParams (this is what we currently give ggez as an indication of where to render)
- save all the (image, DrawParams) into a convenient format
- iterate through (image, DrawParams) on a per images basis sorted by z and make a single render call per image
Before we get deep into the rendering code, we will need to do some collection grouping and sorting, and we will use the itertools crate for that. We could implement this grouping ourselves, but there is no point re-inventing the wheel. Let's add itertools as a dependency to our project.
// Cargo.toml
[dependencies]
ggez = "0.7"
glam = { version = "0.20.0", features = ["mint"] }
specs = { version = "0.17.0", features = ["specs-derive"] }
itertools = "0.9.0"
Let's also import it in the rendering system
#![allow(unused)]
fn main() {
// rendering_system.rs
use itertools::Itertools;
}
Now, remember that get_image function we wrote in the Animations chapter to figure out which image we need for every frame? We'll be able to re-use that we just need to ensure we don't actually load the image, but instead return the path to the image.
#![allow(unused)]
fn main() {
// rendering_system.rs
    pub fn get_image(&mut self, renderable: &Renderable, delta: Duration) -> String {
        let path_index = match renderable.kind() {
            RenderableKind::Static => {
                // We only have one image, so we just return that
                0
            }
            RenderableKind::Animated => {
                // If we have multiple, we want to select the right one based on the delta time.
                // First we get the delta in milliseconds, we % by 1000 to get the milliseconds
                // only and finally we divide by 250 to get a number between 0 and 4. If it's 4
                // we technically are on the next iteration of the loop (or on 0), but we will let
                // the renderable handle this logic of wrapping frames.
                ((delta.as_millis() % 1000) / 250) as usize
            }
        };

        renderable.path(path_index)
    }
}
Now let's figure out the format we want our batched data to be in. We will use a HashMap<u8, HashMap<String, Vec<DrawParam>>> where:
- the first key (
u8) is the z position - remember we need to respect the z positions and draw from highest to smallest z to ensure the right order (for example floors should be below player, etc) - the value is another
HashMap, where the second key (String) is the path to the image - finally, the last value is a
Vec<DrawParam>which are all the params at which we must render that particular image
Let's now write the code to populate the rendering_batches hash map.
#![allow(unused)]
fn main() {
// rendering_system.rs
    fn run(&mut self, data: Self::SystemData) {
        ...

        // Get all the renderables with their positions.
        let rendering_data = (&positions, &renderables).join().collect::<Vec<_>>();
        let mut rendering_batches: HashMap<u8, HashMap<String, Vec<DrawParam>>> = HashMap::new();

        // Iterate each of the renderables, determine which image path should be rendered
        // at which drawparams, and then add that to the rendering_batches.
        for (position, renderable) in rendering_data.iter() {
            // Load the image
            let image_path = self.get_image(renderable, time.delta);

            let x = position.x as f32 * TILE_WIDTH;
            let y = position.y as f32 * TILE_WIDTH;
            let z = position.z;

            // Add to rendering batches
            let draw_param = DrawParam::new().dest(Vec2::new(x, y));
            rendering_batches
                .entry(z)
                .or_default()
                .entry(image_path)
                .or_default()
                .push(draw_param);
        }

        ...
    }
}
Finally, let's actually render the batches. We will not be able to use the draw(image) function we used before but luckily ggez has a batching API - SpriteBatch. Also note the sorted_by here, that is provided to us to itertools.
#![allow(unused)]
fn main() {
// rendering_system.rs
    fn run(&mut self, data: Self::SystemData) {
        ...

        // Iterate spritebatches ordered by z and actually render each of them
        for (_z, group) in rendering_batches
            .iter()
            .sorted_by(|a, b| Ord::cmp(&a.0, &b.0))
        {
            for (image_path, draw_params) in group {
                let image = Image::new(self.context, image_path).expect("expected image");
                let mut sprite_batch = SpriteBatch::new(image);

                for draw_param in draw_params.iter() {
                    sprite_batch.add(*draw_param);
                }

                graphics::draw(self.context, &sprite_batch, graphics::DrawParam::new())
                    .expect("expected render");
            }
        }

        ...
    }
}
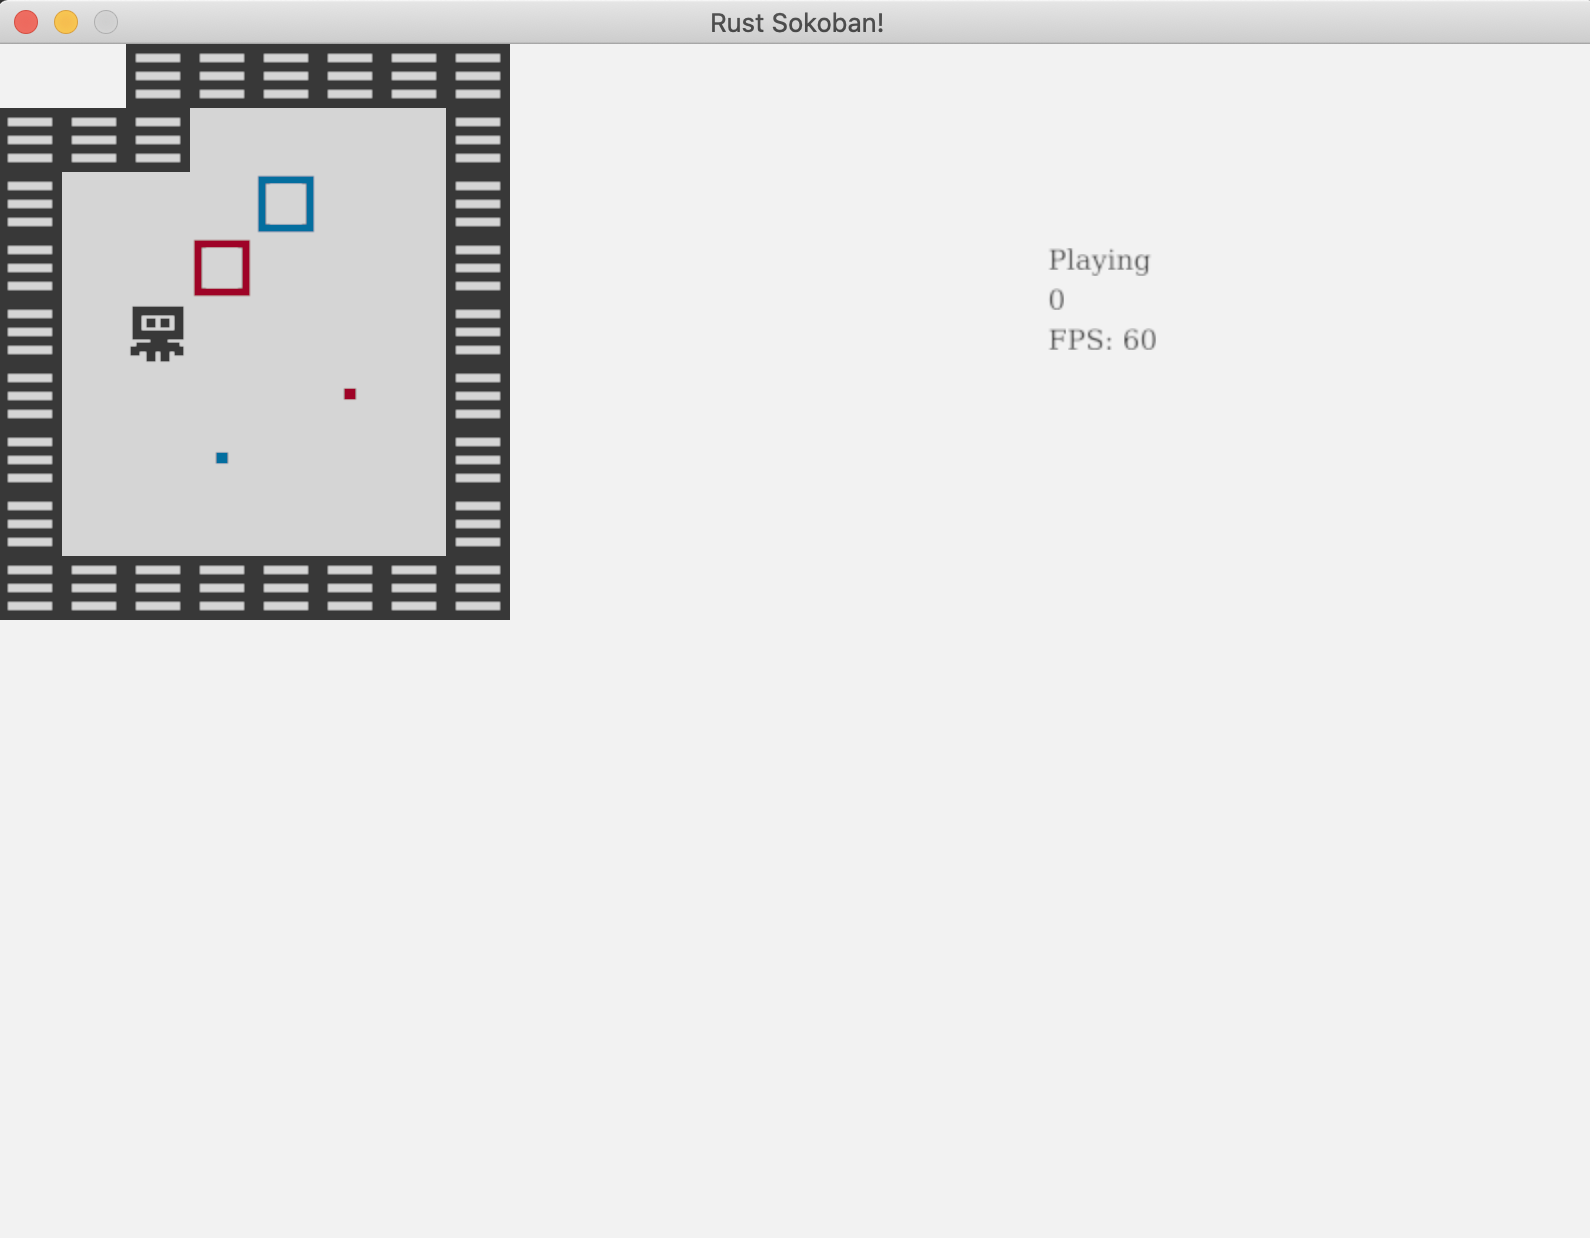
And that's it! Run the game again and you should see a shiny 60FPS and everything should feel much smoother!
CODELINK: You can see the full code in this example here.