批量渲染
你或许已经感觉到了,我们的游戏还有点操作卡顿.接下来我们会先添加一个FPS计算器,看下游戏的渲染速度.FPS就是Frames Per Second的首字母缩写,也就是每秒钟的渲染帧数.我们的目标是60FPS,也就是每秒钟渲染60帧.
FPS计算器
添加FPS计算器,可以分为2步:
- 获取并计算FPS值
- 把FPS值渲染在屏幕上
对于第1步幸运的是ggez已经帮我们实现了-可以看 这里. 至于第2步我们先前已经在渲染系统中渲染过文本,在那里获取FPS值渲染就好了.上代码:
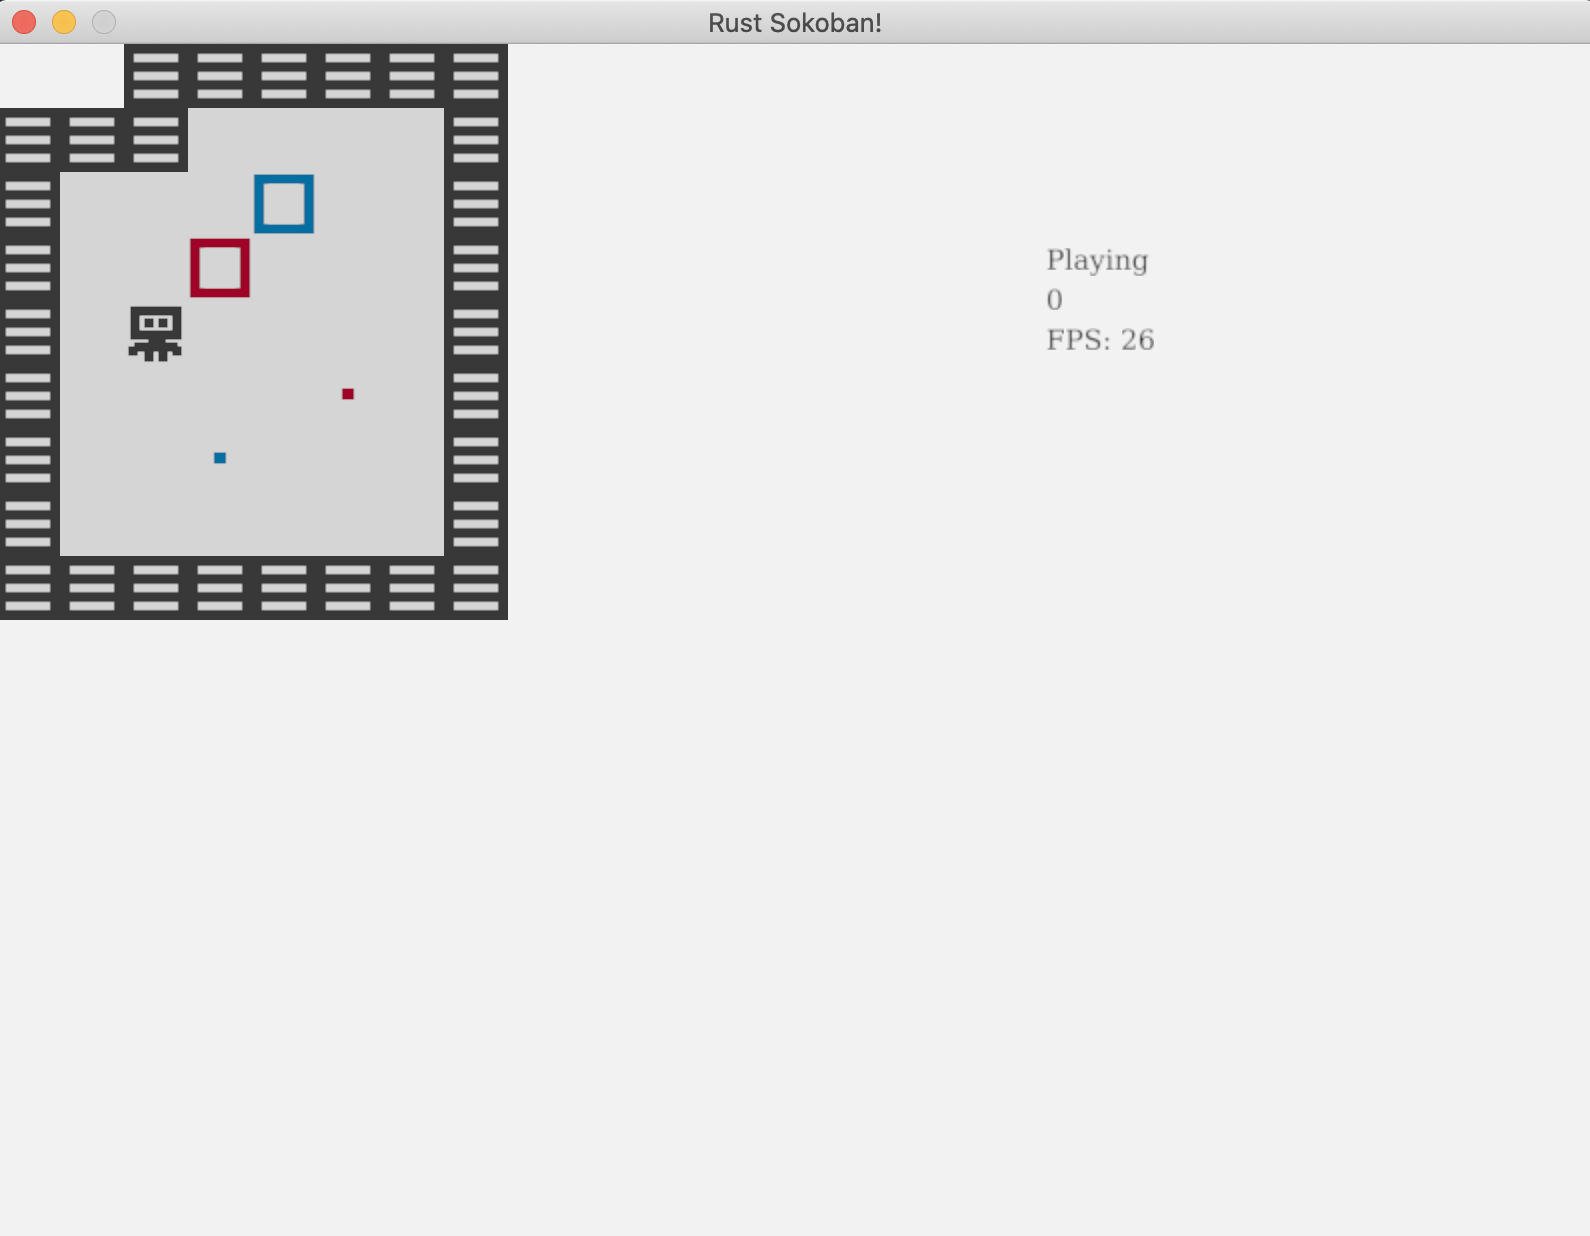
#![allow(unused)]
fn main() {
// rendering_system.rs
    fn run(&mut self, data: Self::SystemData) {
        ...

        // Render any text
        self.draw_text(&gameplay.state.to_string(), 525.0, 80.0);
        self.draw_text(&gameplay.moves_count.to_string(), 525.0, 100.0);
        let fps = format!("FPS: {:.0}", timer::fps(self.context));
        self.draw_text(&fps, 525.0, 120.0);

        ...
    }
}
运行游戏试着玩一下,你会看到FPS比我们期望的60低的多,在我的电脑上是20到30,在你的电脑上可能会多点也可能少点,毕竟我们的电脑配置不一样.
什么造成了FPS降低呢?
你是不是也很好奇是什么造成了这么低的FPS呢?我们的游戏这么简单,操作逻辑什么的都不复杂啊,况且使用的实体,组件什么的也不多,FPS怎么就这么低呢?要弄清这个需要深入了解下渲染系统当前是怎么工作的.
目前渲染每一个实体都需要取获取对应的图片然后渲染,也就是如果渲染20块地板就需要加载地板图片20次,执行渲染操作20次.这样太浪费性能,也是造成FPS底的主要原因.
怎么解决呢?我们可以使用批量渲染的技术解决这个问题.使用这种技术我们就可以一个图片只加载一次,然后渲染到20个不同地方,不但只需要加载一次连一个图片也只需要执行一次渲染操作.这样就可以大幅度提高性能.还需要说明的是:有些引擎会在内部实现批量渲染,但是ggez还没有,所以我们需要自己特别关注下这块.
批量渲染
要实现批量渲染,我们需要:
- 对于每个实体我们需要获取相应的图片和DrawParams (用于告诉ggez在什么地方渲染)
- 使用一个合适的结构保存所有的 image, DrawParams
- 在一次渲染操作中遍历所有的image, DrawParams并渲染
在编写渲染代码前,我们需要对集合进行分钟和排序操作,因此可以引入crate itertools.当然我们也可以自己实现相关的功能,但没必要重复制造轮子是不?把itertools添加到项目依赖中:
// Cargo.toml
[dependencies]
ggez = "0.7"
glam = { version = "0.20.0", features = ["mint"] }
specs = { version = "0.17.0", features = ["specs-derive"] }
在渲染系统中导入:
#![allow(unused)]
fn main() {
// rendering_system.rs
use itertools::Itertools;
}
还记得在动画章节编写的为每一帧获取渲染图片的get_image函数吧,这里依然可以重用,只是要改成返回图片的路径而不是直接加载图片.
#![allow(unused)]
fn main() {
// rendering_system.rs
    pub fn get_image(&mut self, renderable: &Renderable, delta: Duration) -> String {
        let path_index = match renderable.kind() {
            RenderableKind::Static => {
                // We only have one image, so we just return that
                0
            }
            RenderableKind::Animated => {
                // If we have multiple, we want to select the right one based on the delta time.
                // First we get the delta in milliseconds, we % by 1000 to get the milliseconds
                // only and finally we divide by 250 to get a number between 0 and 4. If it's 4
                // we technically are on the next iteration of the loop (or on 0), but we will let
                // the renderable handle this logic of wrapping frames.
                ((delta.as_millis() % 1000) / 250) as usize
            }
        };

        renderable.path(path_index)
    }
}
现在我们需要定义一下批量数据的格式,这里我们使用 HashMap<u8, HashMap<String, Vec<DrawParam>>> :
- 第一个键 (
u8) 是z坐标 - 我们需要把图片上下顺序层叠渲染(比如玩家应该在地板的上面),所以需要用到z. - 值也是
HashMap类型, 这里的第二个键 (String) 是图片的路径 - 后面这个值是
Vec<DrawParam>类型,用于存储渲染图片时用到的信息
现在让我们编写处理这个hash map的函数rendering_batches:
#![allow(unused)]
fn main() {
// rendering_system.rs
    fn run(&mut self, data: Self::SystemData) {
        ...

        // Get all the renderables with their positions.
        let rendering_data = (&positions, &renderables).join().collect::<Vec<_>>();
        let mut rendering_batches: HashMap<u8, HashMap<String, Vec<DrawParam>>> = HashMap::new();

        // Iterate each of the renderables, determine which image path should be rendered
        // at which drawparams, and then add that to the rendering_batches.
        for (position, renderable) in rendering_data.iter() {
            // Load the image
            let image_path = self.get_image(renderable, time.delta);

            let x = position.x as f32 * TILE_WIDTH;
            let y = position.y as f32 * TILE_WIDTH;
            let z = position.z;

            // Add to rendering batches
            let draw_param = DrawParam::new().dest(Vec2::new(x, y));
            rendering_batches
                .entry(z)
                .or_default()
                .entry(image_path)
                .or_default()
                .push(draw_param);
        }

        ...
    }
}
最后就可以真正批量渲染了.批量渲染就不能用先前的API draw(image)了,那怎么渲染呢?好在ggez提供了批量API - SpriteBatch. 注意sorted_by 的地方, 我们使用了itertools.
#![allow(unused)]
fn main() {
// rendering_system.rs
    fn run(&mut self, data: Self::SystemData) {
        ...

        // Iterate spritebatches ordered by z and actually render each of them
        for (_z, group) in rendering_batches
            .iter()
            .sorted_by(|a, b| Ord::cmp(&a.0, &b.0))
        {
            for (image_path, draw_params) in group {
                let image = Image::new(self.context, image_path).expect("expected image");
                let mut sprite_batch = SpriteBatch::new(image);

                for draw_param in draw_params.iter() {
                    sprite_batch.add(*draw_param);
                }

                graphics::draw(self.context, &sprite_batch, graphics::DrawParam::new())
                    .expect("expected render");
            }
        }

        ...
    }
}
这就搞定了!再运行下游戏你会发现已经达到60FPS了,这顺滑!

CODELINK: 点 这里查看示例完整代码.