渲染系统
现在是时候实现我们的第一个系统——渲染系统了。这个系统将负责在屏幕上绘制所有的实体。
渲染系统设置
首先,我们从一个空的实现开始,如下所示:
最后,让我们在绘制循环中运行渲染系统。这意味着每次游戏更新时,我们都会渲染所有实体的最新状态。
现在运行游戏应该可以编译,但可能还不会有任何效果,因为我们尚未填充渲染系统的实现,也没有创建任何实体。
渲染系统实现
注意: 我们将在这里添加 glam 作为依赖项,这是一个简单快速的 3D 库,可以提供一些性能改进。
[dependencies]
ggez = "0.9.3"
glam = { version = "0.24", features = ["mint"] }
以下是渲染系统的实现。它完成以下几个任务:
- 清除屏幕(确保我们不会保留前一帧渲染的状态)
- 获取所有具有可渲染组件的实体并按 z 轴排序(这样我们可以确保正确的叠加顺序,例如玩家应该在地板之上,否则我们看不到玩家)
- 遍历排序后的实体并将它们作为图像渲染
- 最后,呈现到屏幕上
添加一些测试实体
让我们创建一些测试实体以确保工作正常。
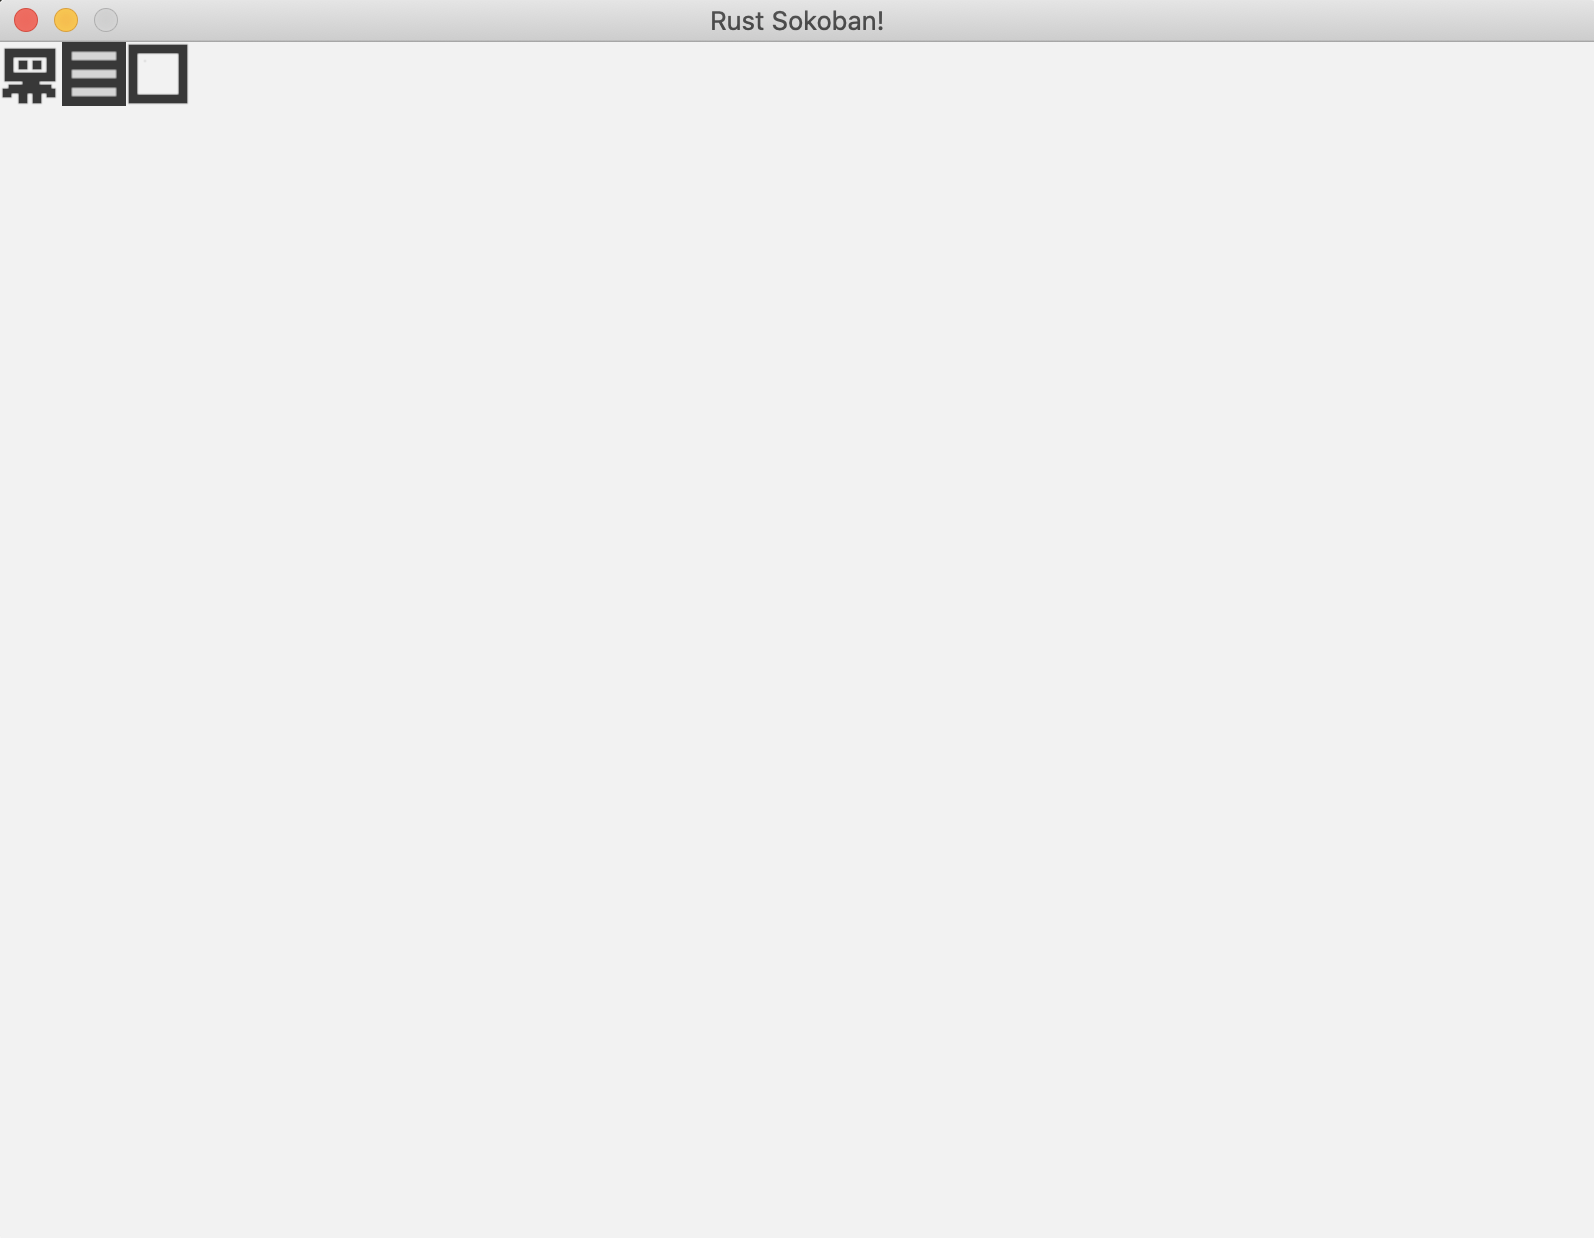
最后,让我们将所有内容组合在一起并运行。你应该会看到类似这样的效果!这非常令人兴奋,现在我们有了一个正式的渲染系统,我们终于可以在屏幕上看到一些东西了。接下来,我们将开始处理游戏玩法,使其真正像一个游戏!

以下是最终代码。
注意: 请注意,这是渲染的一个非常基本的实现,随着实体数量的增加,性能可能不足够好。一个更高级的渲染实现使用批量渲染,可以在第 3 章 - 批量渲染中找到。
/* ANCHOR: all */
// Rust sokoban
// main.rs

use ggez::{
    conf, event,
    graphics::{self, DrawParam, Image},
    Context, GameResult,
};
use glam::Vec2;
use hecs::{Entity, World};

use std::path;

const TILE_WIDTH: f32 = 32.0;

// ANCHOR: components
pub struct Position {
    x: u8,
    y: u8,
    z: u8,
}

pub struct Renderable {
    path: String,
}

pub struct Wall {}

pub struct Player {}

pub struct Box {}

pub struct BoxSpot {}

// ANCHOR_END: components

// ANCHOR: game
// This struct will hold all our game state
// For now there is nothing to be held, but we'll add
// things shortly.
struct Game {
    world: World,
}
// ANCHOR_END: game

// ANCHOR: init
// Initialize the level
pub fn initialize_level(world: &mut World) {
    create_player(
        world,
        Position {
            x: 0,
            y: 0,
            z: 0, // we will get the z from the factory functions
        },
    );
    create_wall(
        world,
        Position {
            x: 1,
            y: 0,
            z: 0, // we will get the z from the factory functions
        },
    );
    create_box(
        world,
        Position {
            x: 2,
            y: 0,
            z: 0, // we will get the z from the factory functions
        },
    );
}
// ANCHOR_END: init

// ANCHOR: handler
impl event::EventHandler<ggez::GameError> for Game {
    fn update(&mut self, _context: &mut Context) -> GameResult {
        Ok(())
    }

    fn draw(&mut self, context: &mut Context) -> GameResult {
        // Render game entities
        {
            run_rendering(&self.world, context);
        }

        Ok(())
    }
}
// ANCHOR_END: handler

// ANCHOR: entities
pub fn create_wall(world: &mut World, position: Position) -> Entity {
    world.spawn((
        Position { z: 10, ..position },
        Renderable {
            path: "/images/wall.png".to_string(),
        },
        Wall {},
    ))
}
pub fn create_floor(world: &mut World, position: Position) -> Entity {
    world.spawn((
        Position { z: 5, ..position },
        Renderable {
            path: "/images/floor.png".to_string(),
        },
    ))
}

pub fn create_box(world: &mut World, position: Position) -> Entity {
    world.spawn((
        Position { z: 10, ..position },
        Renderable {
            path: "/images/box.png".to_string(),
        },
        Box {},
    ))
}

pub fn create_box_spot(world: &mut World, position: Position) -> Entity {
    world.spawn((
        Position { z: 9, ..position },
        Renderable {
            path: "/images/box_spot.png".to_string(),
        },
        BoxSpot {},
    ))
}

pub fn create_player(world: &mut World, position: Position) -> Entity {
    world.spawn((
        Position { z: 10, ..position },
        Renderable {
            path: "/images/player.png".to_string(),
        },
        Player {},
    ))
}
// ANCHOR_END: entities

// ANCHOR: rendering_system
fn run_rendering(world: &World, context: &mut Context) {
    // Clearing the screen (this gives us the background colour)
        let mut canvas =
        graphics::Canvas::from_frame(context, graphics::Color::from([0.95, 0.95, 0.95, 1.0]));

    // Get all the renderables with their positions and sort by the position z
    // This will allow us to have entities layered visually.
    let mut query = world.query::<(&Position, &Renderable)>();
    let mut rendering_data: Vec<(Entity, (&Position, &Renderable))> = query.into_iter().collect();
    rendering_data.sort_by_key(|&k| k.1 .0.z);

    // Iterate through all pairs of positions & renderables, load the image
    // and draw it at the specified position.
    for (_, (position, renderable)) in rendering_data.iter() {
        // Load the image
        let image = Image::from_path(context, renderable.path.clone()).unwrap();
        let x = position.x as f32 * TILE_WIDTH;
        let y = position.y as f32 * TILE_WIDTH;

        // draw
        let draw_params = DrawParam::new().dest(Vec2::new(x, y));
        canvas.draw(&image, draw_params);
    }

    // Finally, present the canvas, this will actually display everything
    // on the screen.
    canvas.finish(context).expect("expected to present");
}
// ANCHOR_END: rendering_system

// ANCHOR: main
pub fn main() -> GameResult {
    let world = World::new();

    // Create a game context and event loop
    let context_builder = ggez::ContextBuilder::new("rust_sokoban", "sokoban")
        .window_setup(conf::WindowSetup::default().title("Rust Sokoban!"))
        .window_mode(conf::WindowMode::default().dimensions(800.0, 600.0))
        .add_resource_path(path::PathBuf::from("./resources"));

    let (context, event_loop) = context_builder.build()?;

    // Create the game state
    let game = Game { world };
    // Run the main event loop
    event::run(context, event_loop, game)
}
// ANCHOR_END: main

/* ANCHOR_END: all */
CODELINK: 你可以在 这里 查看本示例的完整代码。